When it comes to safeguarding your motorcycle from theft and ensuring its security, installing an alarm system is a proactive measure every rider should consider. we’ll delve into the intricacies of installing an alarm system on your motorcycle, providing detailed steps and insights to help you enhance the security of your prized possession.
Understanding Motorcycle Alarm Systems
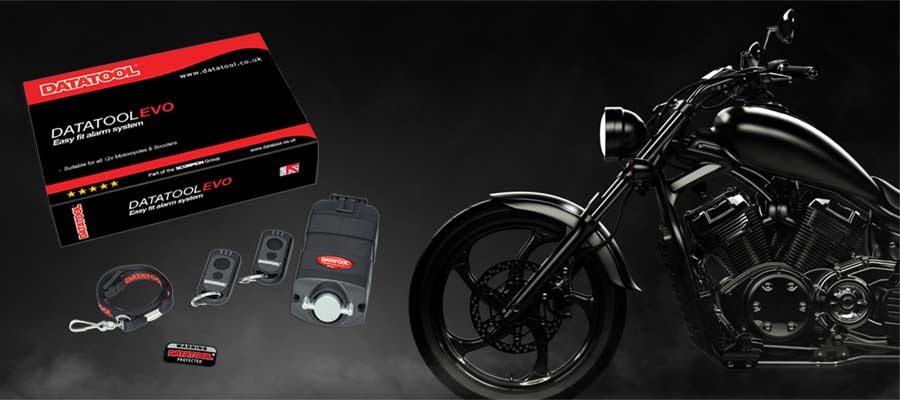
Motorcycle alarm systems are designed to deter theft attempts by alerting the owner and surrounding individuals when unauthorized access is detected. These systems typically consist of various components such as sensors, sirens, and control units, all working together to provide comprehensive security coverage for your motorcycle.
Benefits of Installing a Motorcycle Alarm System
Theft Deterrence: A visible alarm system acts as a deterrent, dissuading potential thieves from targeting your motorcycle.
Enhanced Security: Alarm systems provide an additional layer of security, complementing existing locks and immobilizers to prevent unauthorized access.
Peace of Mind: Knowing that your motorcycle is equipped with an alarm system offers peace of mind, especially in high-theft areas or when parking in unfamiliar locations.
Step-by-Step Installation Guide
Step 1: Choose the Right Alarm System
Before installation, research and select a motorcycle alarm system that suits your specific requirements. Consider factors such as compatibility with your motorcycle model, features offered, and budget constraints.
Step 2: Gather Necessary Tools and Equipment
Promise you have all of the essential gadgets and stuff for foundation communication. This may include wrenches, screwdrivers, wire cutters, electrical tape, and any additional components specified by the alarm system manufacturer.
Step 3: Locate Ideal Installation Position
Identify a suitable location on your motorcycle to mount the alarm system components, ensuring they are securely positioned and easily accessible for maintenance purposes.
Step 4: Connect Wiring Harness
Follow the manufacturer’s instructions to connect the alarm system’s wiring harness to the appropriate electrical components of your motorcycle, such as the battery, ignition system, and indicator lights.
Step 5: Install Sensors and Sirens
Mount the sensors and sirens in strategic locations on your motorcycle, ensuring optimal coverage and functionality. Test the sensors to verify their responsiveness and adjust positioning if necessary.
Step 6: Secure Control Unit
Install the control unit in a discreet yet accessible location, such as under the seat or within the motorcycle’s fairings. Ensure all connections are secure and protected from moisture and debris.
Step 7: Test and Configure Settings
Once installation is complete, thoroughly test the alarm system to ensure proper functionality. Configure settings such as sensitivity levels and alarm activation modes according to your preferences.
Maintenance and Troubleshooting Tips
- Regularly inspect the alarm system components for signs of damage or tampering.
- Keep the control unit and wiring connections clean and free from corrosion.
- Familiarize yourself with the alarm system’s user manual for troubleshooting guidance in case of malfunctions or false alarms.
Conclusion
Investing in a high-quality alarm system is an effective way to protect your motorcycle from theft and enhance its overall security. By following the step-by-step installation guide and implementing proper maintenance practices, you can enjoy peace of mind knowing that your prized possession is well-protected against unauthorized access.